If you are the owner of a Trezor hardware wallet and have been using it to store your cryptocurrencies, you may be unable to directly connect it to decentralized exchanges (DEXs) like 1inch. However, with a few simple steps, you can easily connect your Trezor wallet to 1inch and enjoy the benefits of trading directly from your secure hardware wallet.
The first step is to make sure you have the latest firmware installed on your Trezor wallet. This is important as it ensures that your Trezor is compatible with the latest features and security enhancements. You can check for firmware updates and install them through the Trezor Wallet interface.
Once your Trezor firmware is up to date, you will also need to install the Trezor Bridge software on your computer. The Trezor Bridge acts as a communication bridge between your Trezor wallet and the 1inch platform. You can download the Trezor Bridge from the official Trezor website and follow the installation instructions provided.
- Step 1: Install the Trezor Wallet Extension
- Step 1.1: Open your web browser
- Step 1.2: Go to the official Trezor website
- Step 2: Set Up Your Trezor Wallet
- Step 2.1: Connect your Trezor device to your computer
- Step 2.2: Follow the on-screen instructions to initialize your wallet
- Step 3: Connect Your Trezor Wallet to 1inch
- Step 3.1: Open the 1inch exchange platform
- Step 3.2: Click on the “Connect Wallet” button
- Step 3.3: Select Trezor as your preferred wallet
- Troubleshooting
- Troubleshooting Issue 1: Trezor Wallet Not Recognized
- Troubleshooting Issue 1.1: Check if your Trezor device is properly connected
- Troubleshooting Issue 1.2: Update the Trezor Wallet Extension
- Troubleshooting Issue 2: Unable to Connect Trezor Wallet to 1inch
- Troubleshooting Issue 2.1: Clear your browser cache and cookies
- Troubleshooting Issue 2.2: Try using a different web browser
- Frequently Asked Questions:
- What is Trezor wallet?
- Why should I connect my Trezor wallet to 1inch?
- Is it safe to connect my Trezor wallet to 1inch?
- Video:
- STEP-BY-STEP TUTORIAL ON HOW TO SET UP A TREZOR WALLET ("Investing in Crypto for Beginners" Series)
- Ledger Recover Explained by Experts Top 3 Concerns Revealed (What Ledger Users Should Do? ✅)
Step 1: Install the Trezor Wallet Extension
In order to connect your Trezor wallet to the 1inch platform, you will first need to install the Trezor Wallet Extension. The extension allows you to securely access and manage your crypto assets directly from your web browser.
- Open your web browser and navigate to the official Trezor website.
- Locate the download page for the Trezor Wallet Extension.
- Click on the download button to begin the installation process.
- Once the extension has been downloaded, click on the file to install it.
- Follow the on-screen instructions to complete the installation.
After successfully installing the Trezor Wallet Extension, you will be able to connect your Trezor wallet to the 1inch platform and securely manage your crypto assets.
Step 1.1: Open your web browser
To connect your Trezor wallet to 1inch, you will need to have a web browser open on your device. This can be any popular web browser such as Google Chrome, Mozilla Firefox, Safari, or Microsoft Edge. Make sure that your web browser is up to date to ensure compatibility with the Trezor wallet.
Once you have your web browser open, you can proceed to the next step to connect your Trezor wallet to 1inch.
Step 1.2: Go to the official Trezor website
In order to connect your Trezor wallet to 1inch, you will need to visit the official Trezor website. This is where you will be able to access the necessary features and settings to connect your wallet successfully.
When you visit the official Trezor website, you will be able to download the Trezor Bridge software, which is required for connecting your Trezor wallet to your computer. The Trezor Bridge software acts as a communication interface between your Trezor hardware wallet and your computer, allowing them to connect and interact with each other.
To download the Trezor Bridge software, navigate to the official Trezor website using the web browser of your choice. You can do this by typing the URL (https://trezor.io) directly into the address bar.
Once you are on the official Trezor website, locate the “Downloads” section. Here, you will find the Trezor Bridge software available for download. Click on the appropriate version for your operating system (Windows, macOS, or Linux) and follow the on-screen instructions to install it.
It is important to note that the Trezor Bridge software needs to be running on your computer in order for your Trezor wallet to be properly connected. Make sure to keep the Trezor Bridge software open and running before proceeding to the next steps.
Note: If you already have the Trezor Bridge software installed and running on your computer, you can skip this step and proceed to the next one.
Step 2: Set Up Your Trezor Wallet
Before you begin using your Trezor hardware wallet with 1inch, you will need to set it up.
If you have not done so already, follow these steps to set up your Trezor wallet:
- Visit the official Trezor website and download the Trezor Bridge software. This software allows your computer to communicate with your Trezor device.
- Install the Trezor Bridge software on your computer by following the provided instructions.
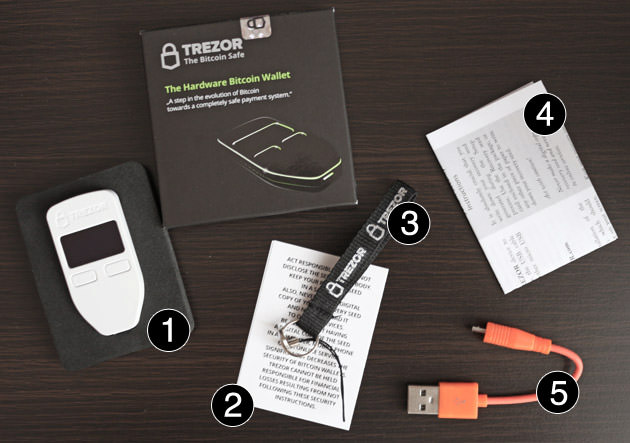
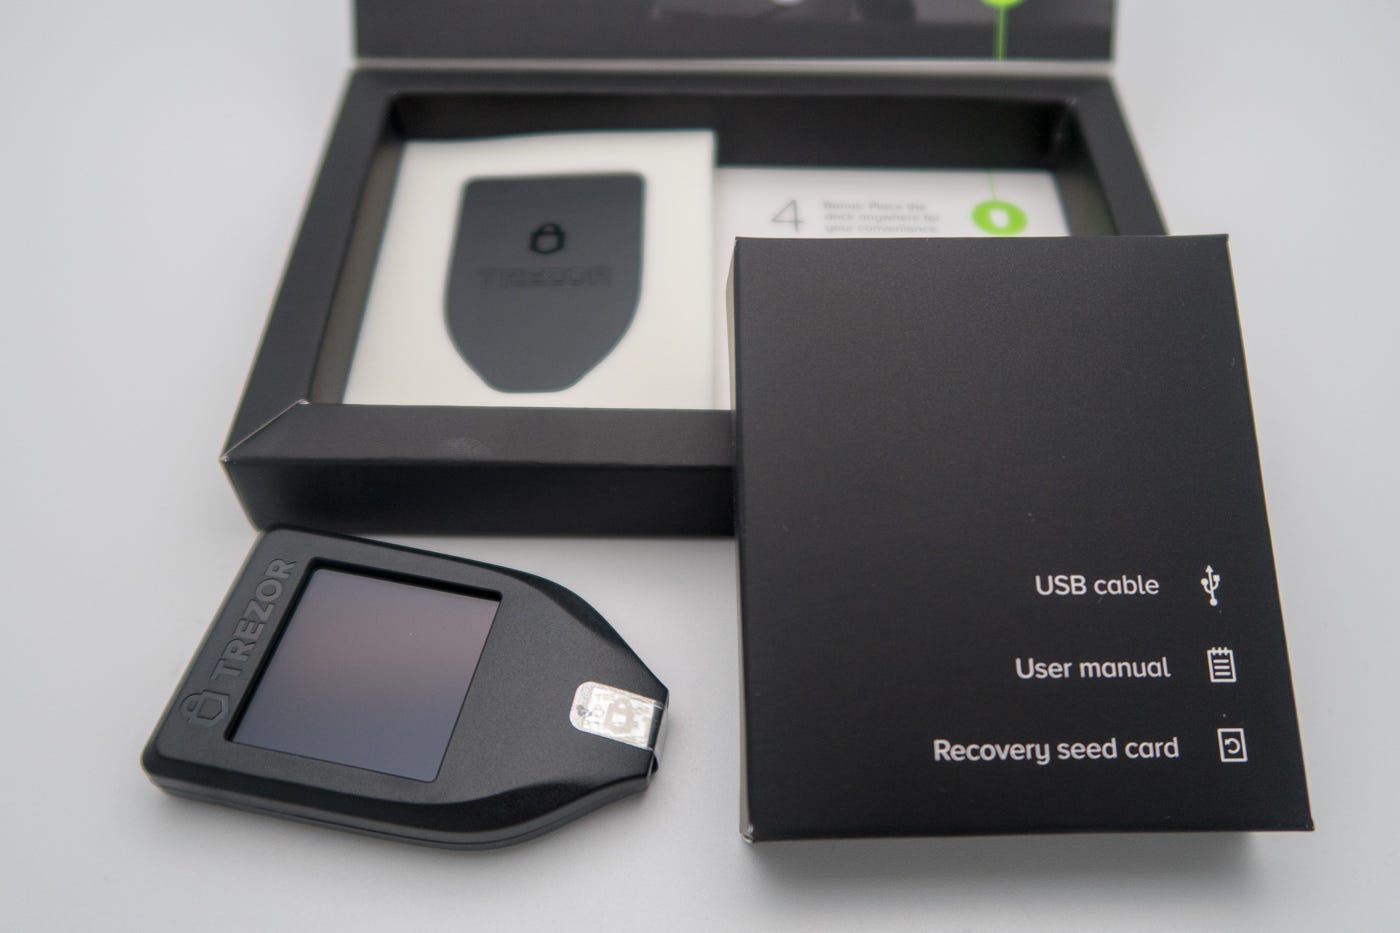
- Once the Trezor Bridge is installed, connect your Trezor device to your computer using the provided USB cable.
- Follow the on-screen instructions to initialize your Trezor wallet. This will include setting a PIN code and creating a recovery seed.
- Make sure to carefully store your recovery seed in a safe place. This seed can be used to recover your wallet in case your hardware device is lost, damaged, or stolen.
- After setting up your Trezor wallet, you will need to install the Trezor firmware. This can be done by following the instructions provided on the Trezor website.
- Once your Trezor device is set up and the firmware is installed, you will be able to connect it to your computer and access your wallet.
Setting up a Trezor wallet is an important step in securing your cryptocurrency assets. By using a hardware wallet like Trezor, you will have an extra layer of protection against potential security risks that come with using online wallets or exchanges.
It is also important to keep your Trezor firmware up to date to ensure you have the latest security features and bug fixes. Trezor regularly releases firmware updates, so make sure to check for updates and install them when available.
Step 2.1: Connect your Trezor device to your computer

Before you can start using your Trezor device with the 1inch platform, you need to connect it to your computer.
To do this, follow the steps below:
- Plug the USB cable into your Trezor device.
- Connect the other end of the USB cable to an available USB port on your computer.
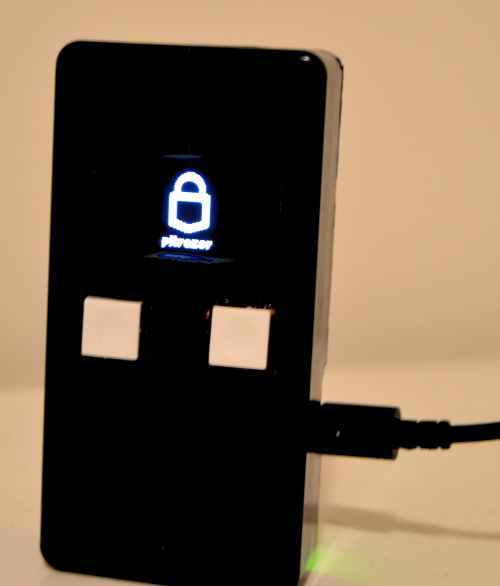
- Make sure that your Trezor device is powered on.
- Your computer may prompt you for drivers or software. If this happens, follow the instructions provided to install any necessary drivers or software.
- After connecting your Trezor device to your computer, you should see a notification or message indicating that the device is connected. If you do not see this notification, try disconnecting and reconnecting the device, or try using a different USB port on your computer.
- You are now ready to proceed to the next step and connect your Trezor wallet to the 1inch platform.
If you are unable to connect your Trezor device to your computer, make sure that you have installed the necessary drivers and software, and that your USB cable is functioning properly. You may also want to try using a different USB cable or a different computer altogether.
Also, ensure that your Trezor device is powered on and that it is in a good physical condition without any visible damage.
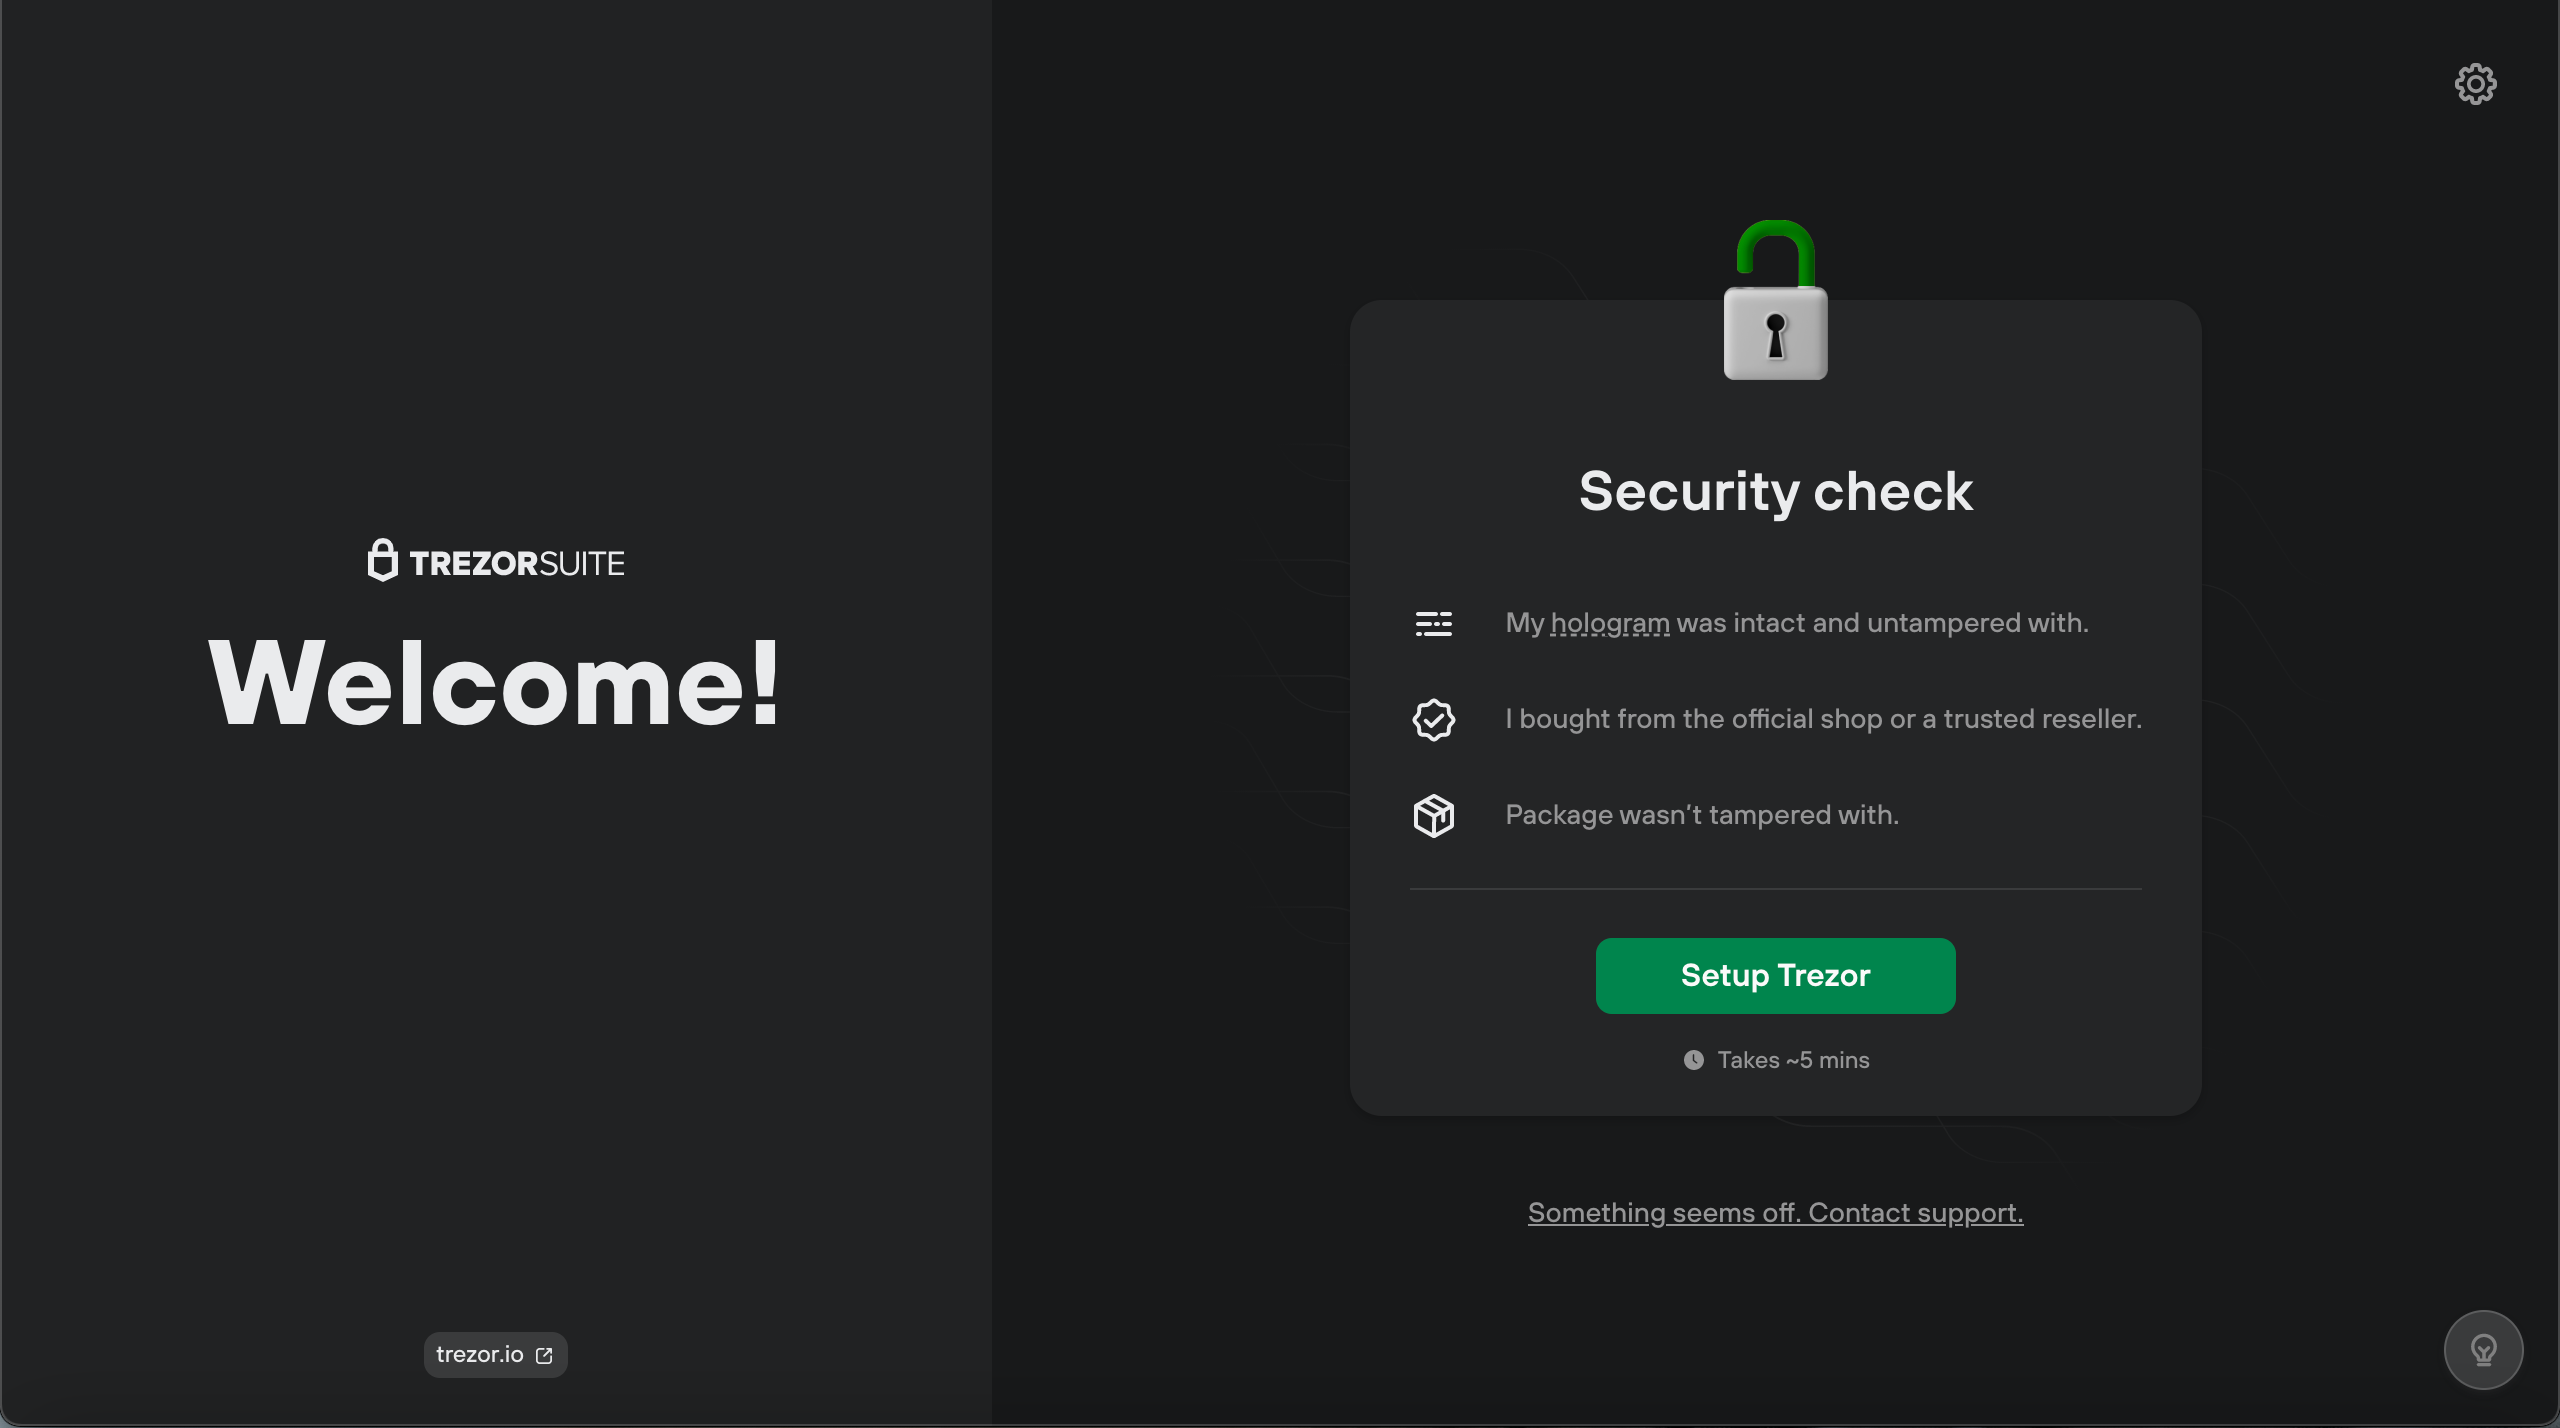
Step 2.2: Follow the on-screen instructions to initialize your wallet
Once your Trezor wallet is connected to your computer, you will see the Trezor interface on your screen. Follow the on-screen instructions to begin the initialization process.
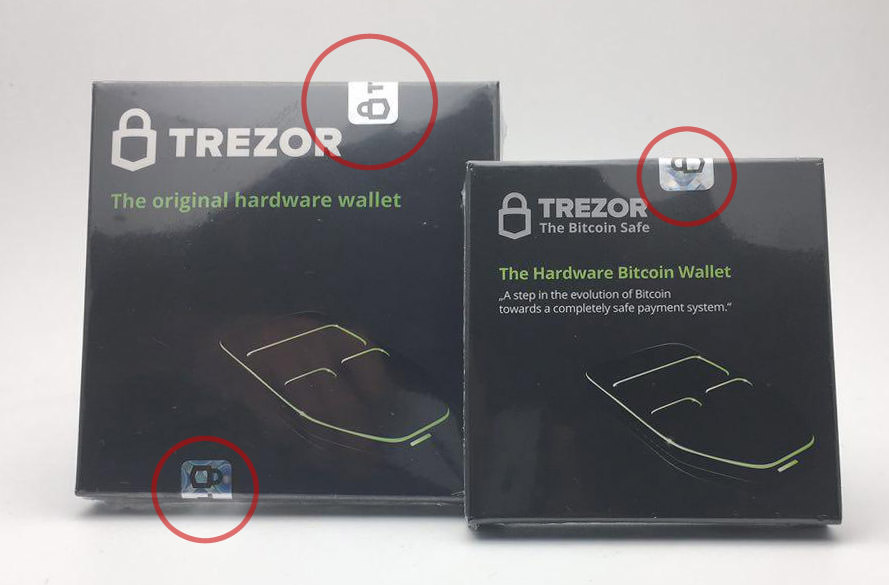
First, you will be asked to confirm that your Trezor is genuine and not counterfeit. Verify that the firmware version and the hologram on your device match the information displayed on the screen. If everything matches, click “Yes” to continue.
Next, you will be prompted to create a new PIN for your Trezor. This PIN will be used to access your wallet in the future, so make sure to choose a PIN that you can remember. Follow the instructions on the screen to set up your PIN.
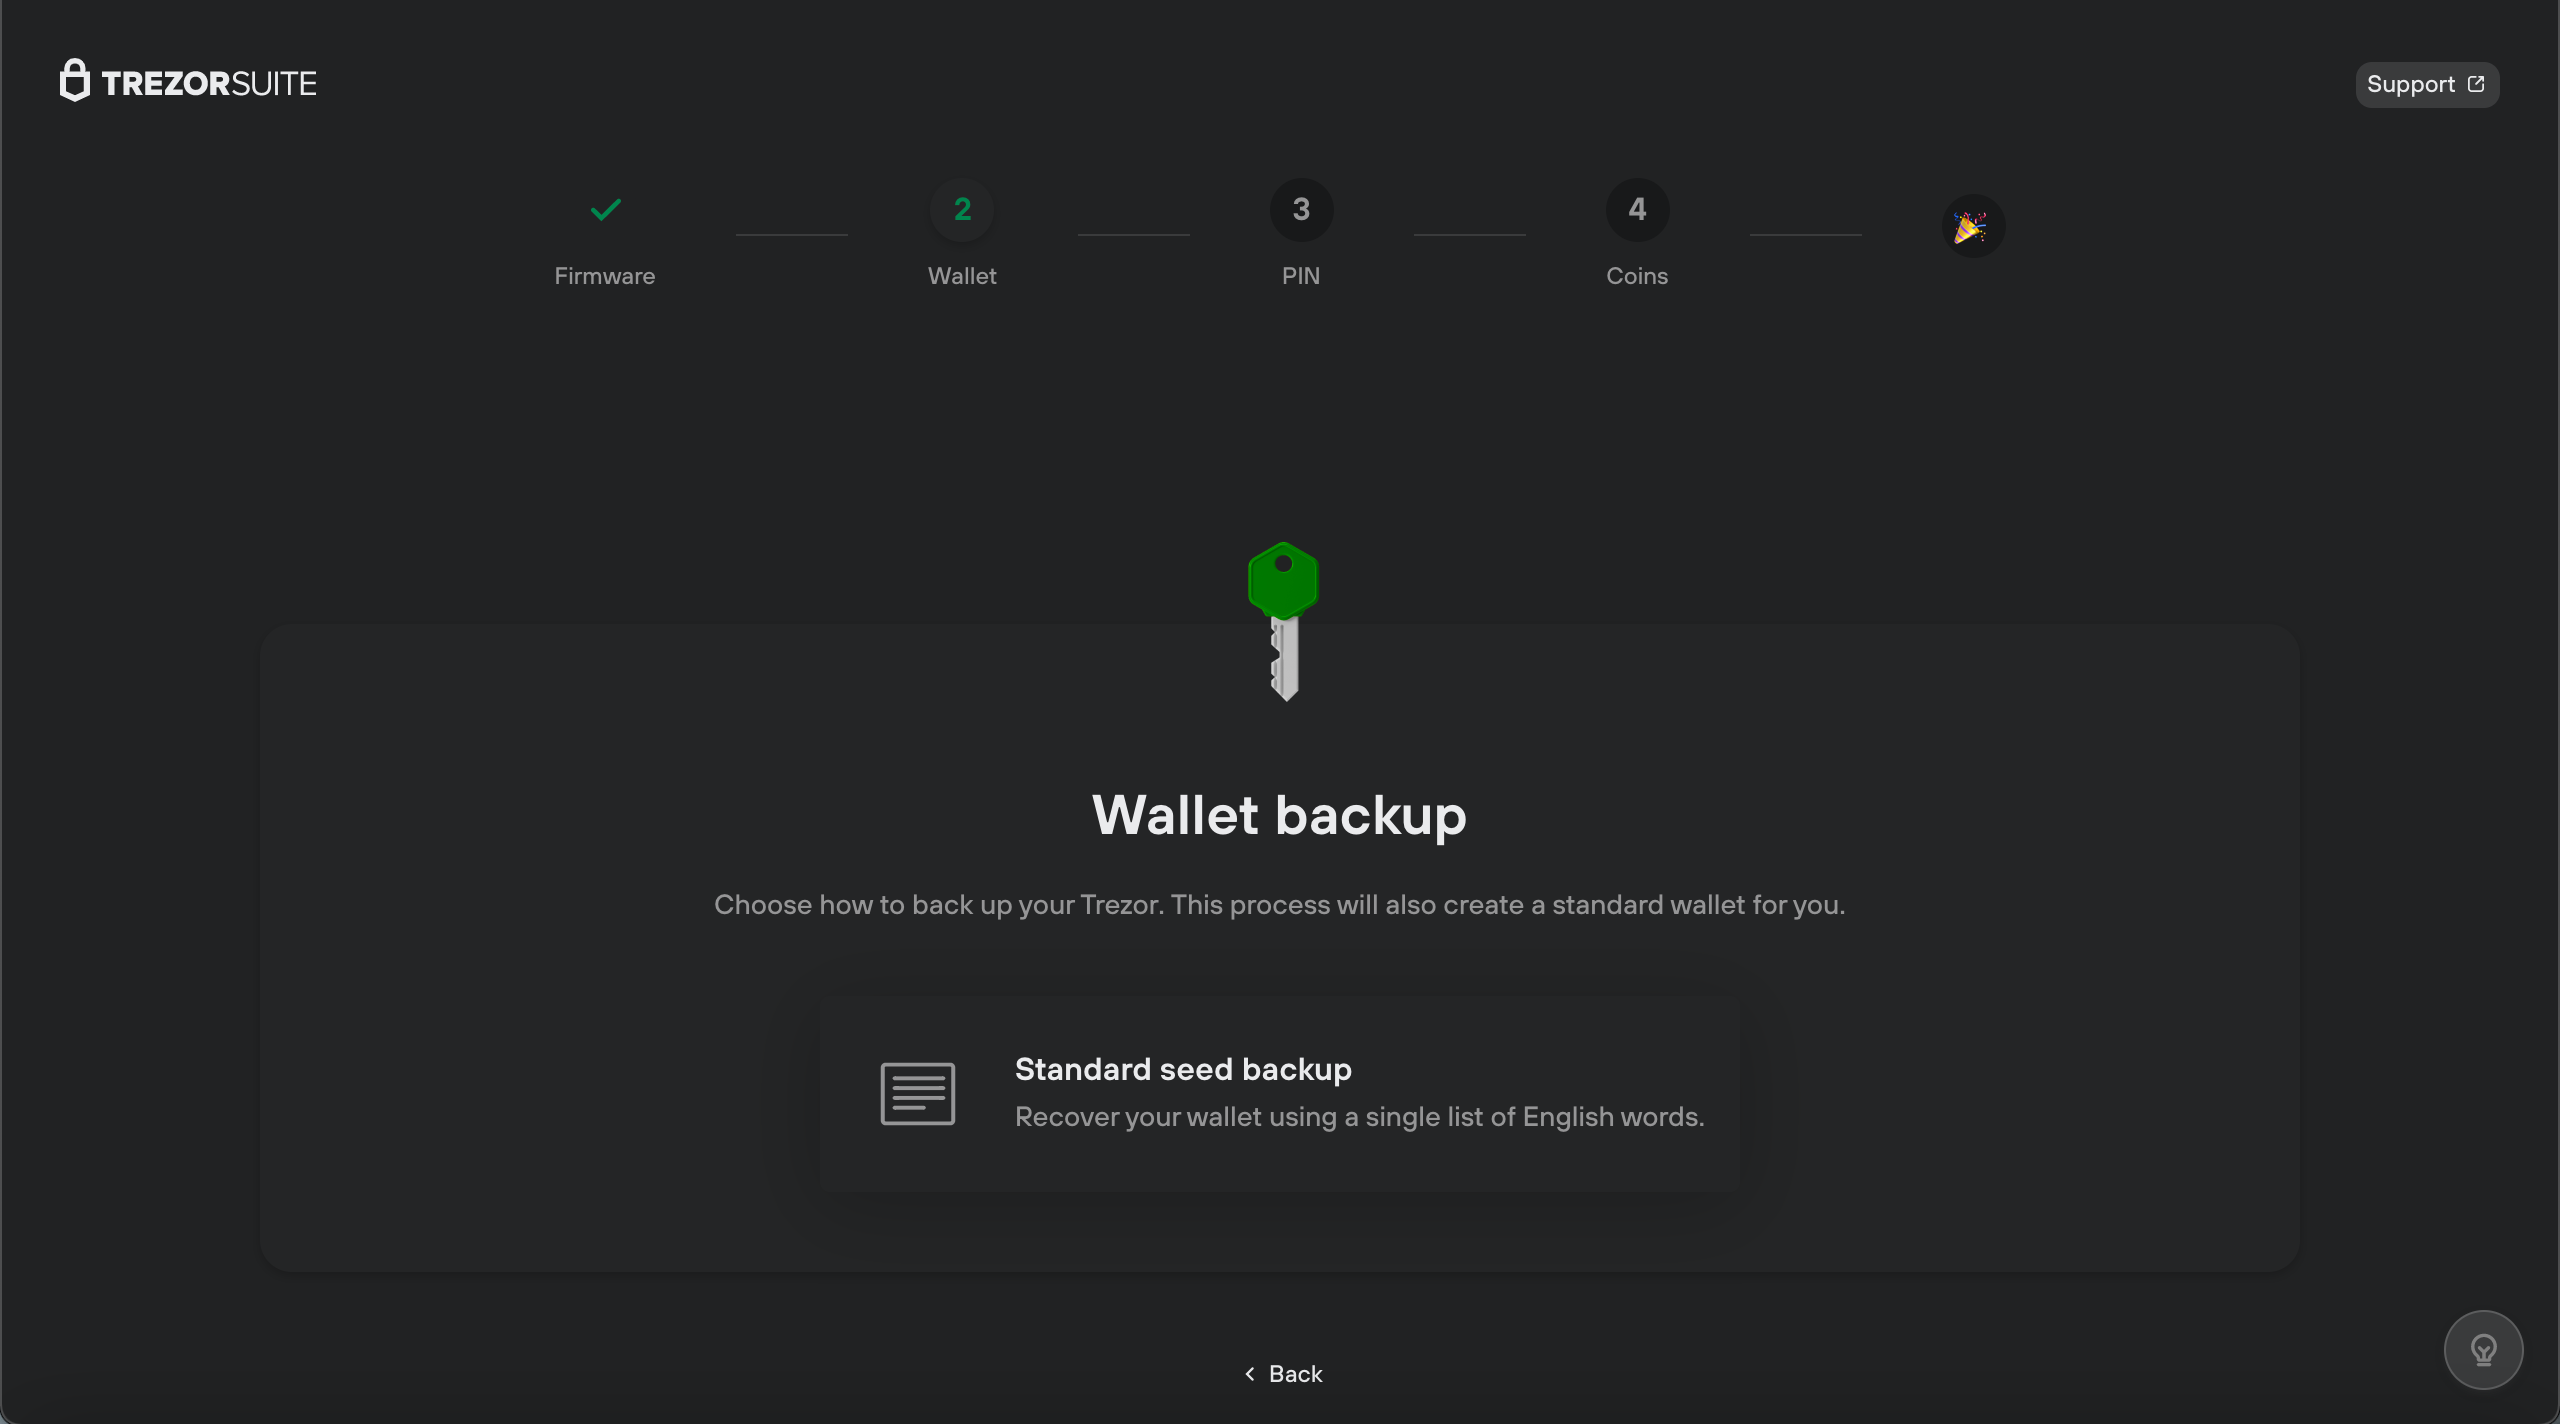
After setting up your PIN, you will be asked to write down your recovery seed. This seed is a series of 24 words that can be used to recover your wallet in case your device is lost, stolen, or damaged. Write down the words in the exact order shown on the screen and keep them in a safe place. Make sure to store the recovery seed securely, as anyone who has access to it can gain control of your wallet.
Once you have written down the recovery seed, you will be asked to confirm it. Select each word in the correct order to verify that you have recorded the seed correctly. This step is crucial to ensure that you can recover your wallet in the future, so double-check your entries before confirming.
After confirming your recovery seed, your Trezor wallet will be initialized and ready to use. You can now proceed to the next step to connect your Trezor wallet to 1inch and start trading.
Step 3: Connect Your Trezor Wallet to 1inch
To connect your Trezor wallet to 1inch, please follow the steps below:
- Make sure your Trezor hardware wallet is properly set up and connected to your computer.
- Open the 1inch website and navigate to the “Connect Wallet” section.
- Click on the “Connect” button next to the Trezor wallet option.
- A pop-up window will appear, asking you to select the Trezor device you want to connect.
- Choose the appropriate device from the list and click “Connect”.
- You may be prompted to enter your Trezor PIN on the device screen.
- Once the connection is established, you will see a confirmation message on the 1inch website.
If you are unable to connect your Trezor wallet to 1inch, make sure that:
- Your Trezor device is properly connected to your computer and has the latest firmware version installed.
- You are using a supported internet browser (such as Chrome or Firefox) with the latest updates.
- You have disabled any browser extensions that may interfere with the connection.
- You have followed the correct steps and entered the correct PIN on your Trezor device.
If you are still unable to connect your Trezor wallet, you may need to troubleshoot the issue or seek assistance from the Trezor support team.
Step 3.1: Open the 1inch exchange platform
Once you have successfully connected your Trezor wallet to your computer or mobile device, you are now ready to open the 1inch exchange platform.
1. Launch your preferred web browser and navigate to the 1inch website. The official website for 1inch is https://1inch.exchange/.
2. Once you are on the 1inch website, you will see the homepage of the platform. Take a moment to familiarize yourself with the layout and the various features available.
3. On the homepage, you will find a search bar located at the top right corner of the screen. This search bar allows you to search for specific tokens or pairs that you would like to trade.
4. Additionally, you will find a list of popular tokens and pairs below the search bar. This list provides quick access to commonly traded tokens.
5. In order to start trading, select the token you would like to trade from the list of popular tokens or enter the token’s ticker symbol or name into the search bar.
6. Once you have selected or searched for the desired token, the platform will display the available trading pairs for that token.
7. Choose the trading pair you would like to trade and click on it to proceed to the trading interface.
By following these steps, you will be able to open the 1inch exchange platform and begin exploring the various trading options available to you. It’s important to note that while you are using the platform, your Trezor wallet will remain connected, allowing you to conduct secure and decentralized trades.
Step 3.2: Click on the “Connect Wallet” button

After ensuring that your Trezor device is properly connected to your computer, you can now proceed to connect it to the 1inch platform.
To connect your Trezor wallet, follow these steps:
- On the 1inch platform, locate the “Connect Wallet” button. It is usually located at the top right corner of the screen.
- Click on the “Connect Wallet” button.
- A list of supported wallets will appear. Scroll through the list and locate the “Trezor” option.
- Click on the “Trezor” option to select it.
- If the Trezor wallet is already connected to your computer, it will be automatically detected and connected to the 1inch platform. You will see a confirmation message indicating that your Trezor wallet is now connected.
- If you are unable to see the confirmation message or if your Trezor wallet is not automatically connected, make sure that your Trezor device is properly connected to your computer. Also, ensure that you have the latest version of the Trezor Bridge software installed on your computer.
Once your Trezor wallet is connected to the 1inch platform, you will be able to access and manage your funds securely. You can now proceed to the next step to start using the 1inch platform with your Trezor wallet.
Step 3.3: Select Trezor as your preferred wallet
Once you have successfully connected your Trezor wallet to your computer and opened the 1inch platform, you are now ready to select Trezor as your preferred wallet for connecting to 1inch.
To select Trezor as your wallet:
- Locate the wallet selection drop-down menu at the top right corner of the 1inch platform.
- Click on the drop-down menu and scroll down until you find the option for Trezor.
- Click on the Trezor option to select it as your preferred wallet.
By selecting Trezor as your preferred wallet, you will be able to directly connect and sign transactions with your Trezor device without the need to enter any additional information or passwords.
It’s important to note that you may need to unlock your Trezor device and confirm the connection on your device before you can proceed with using your Trezor wallet on 1inch.
Additionally, if you have multiple Trezor devices connected to your computer, make sure to select the correct device from the wallet selection drop-down menu.
Once you have selected Trezor as your preferred wallet, you will also be able to view your Trezor wallet balance, transaction history, and conduct various operations on the 1inch platform.
Troubleshooting
If you are experiencing issues connecting your Trezor wallet to 1inch, here are some troubleshooting tips to help resolve the problem:
- Make sure your Trezor device is properly connected to your computer. Check the USB cable and make sure it is securely plugged in.
- Confirm that your Trezor firmware is up to date. You can do this by visiting the Trezor website and following their instructions for updating firmware.
- Check that you have the latest version of the Trezor Bridge software installed on your computer. The Bridge software is required for the Trezor to communicate with your web browser.
- Try using a different USB port on your computer. Sometimes, certain USB ports can have compatibility issues.
- If you are using a browser extension to connect your Trezor, make sure the extension is installed and enabled. You may need to refresh the page after enabling the extension.
- Restart your computer and try again. Sometimes, a simple restart can help resolve connection issues.
- Make sure you are using a supported browser. 1inch recommends using the latest version of Google Chrome or Mozilla Firefox for the best experience.
- If you have tried all of the above steps and are still unable to connect your Trezor wallet to 1inch, you can also try connecting with a different device or contact the Trezor support team for further assistance.
By following these troubleshooting steps, you should be able to resolve any issues preventing you from connecting your Trezor wallet to 1inch and start using the platform with ease.
Troubleshooting Issue 1: Trezor Wallet Not Recognized

If you are experiencing issues with your Trezor wallet not being recognized by the 1inch platform, there are a few steps you can take to troubleshoot the problem.
- Verify Connection: First, ensure that your Trezor device is properly connected to your computer. Check the USB cable and make sure it is securely plugged into your computer and the Trezor device. Also, make sure that the Trezor device is properly connected to a power source.
- Refresh the Page: Sometimes, the issue can be resolved by simply refreshing the page. Click the refresh button on your browser or press F5 on your keyboard to reload the page and see if the Trezor wallet is recognized.
- Update Firmware: Outdated firmware can sometimes cause issues with device recognition. Visit the Trezor website and check if there is an available firmware update for your device. If there is, follow the instructions provided to update your firmware.
- Restart Your Computer: A simple restart of your computer can sometimes resolve connectivity issues. Save any important work, close all programs, and restart your computer. Once your computer has restarted, try connecting your Trezor wallet again.
- Try a Different USB Port or Cable: If the above steps do not work, try using a different USB port on your computer. Additionally, you can also try using a different USB cable. Faulty ports or cables can sometimes prevent the Trezor wallet from being recognized.
If you have tried all of the above steps and the Trezor wallet is still not recognized by the 1inch platform, it is recommended to reach out to Trezor customer support for further assistance. They will be able to provide you with specific troubleshooting steps tailored to your device and situation.
Troubleshooting Issue 1.1: Check if your Trezor device is properly connected
If you are unable to connect your Trezor wallet to 1inch, there may be an issue with the connection between your device and the computer. Follow these steps to check if your Trezor is properly connected:
- Ensure that your Trezor device is plugged into a USB port on your computer. Make sure the cable is securely connected.
- Check if the Trezor device is powered on. The screen should display the Trezor logo or a prompt for you to enter your PIN.
- If your Trezor is connected through an adapter or hub, try connecting it directly to a USB port on your computer. Sometimes, adapters or hubs may not provide sufficient power or interfere with the connection.
- Try using a different USB cable. A faulty or damaged cable could disrupt the connection between your Trezor and computer.
- Make sure you have installed the latest firmware on your Trezor device. You can do this by visiting the official Trezor website and following their instructions for firmware updates.
- Restart your computer and try reconnecting your Trezor device. Sometimes, a simple restart can resolve connectivity issues.
If you have followed these troubleshooting steps and are still encountering connection issues, you may also want to check if your computer’s USB ports are functioning properly. Try connecting other USB devices to the same ports to see if they are recognized and working correctly.
Troubleshooting Issue 1.2: Update the Trezor Wallet Extension
If you are unable to connect your Trezor wallet to 1inch, it could be due to an outdated version of the Trezor Wallet extension. To resolve this issue, you will need to update the extension to the latest version.
To update the Trezor Wallet extension, follow these steps:
- Open your web browser, such as Google Chrome or Mozilla Firefox.
- Type “chrome://extensions” or “about:addons” in the address bar and press Enter.
- Locate the Trezor Wallet extension in the list of installed extensions.
- If there is an update available, you will see an “Update” button next to the extension. Click on it to update the extension to the latest version.
- If there is no update button, it means that the extension is already up to date.
After updating the Trezor Wallet extension, try connecting your Trezor wallet to 1inch again. If you are still facing issues, you may want to try restarting your browser or clearing your browser cache. You may also consider reaching out to the Trezor support team for further assistance.
Troubleshooting Issue 2: Unable to Connect Trezor Wallet to 1inch
If you are unable to connect your Trezor wallet to 1inch, there are a few potential issues that could be causing the problem. First and foremost, make sure that your Trezor wallet is properly connected to your computer and that you have the latest firmware installed.
Also, it is important to note that not all wallets are compatible with 1inch. Although Trezor is a widely used hardware wallet, it is possible that there may be some compatibility issues. In this case, you may need to consider using an alternative wallet that is supported by 1inch.
If you have confirmed that your Trezor wallet is connected and compatible with 1inch, there may be a connection issue between your wallet and the 1inch platform. To troubleshoot this, you can try the following steps:
- Refresh the page: Sometimes, simply refreshing the page can resolve minor connection issues. Try refreshing the page and see if that resolves the problem.
- Clear cache and cookies: Clearing your browser’s cache and cookies can also help resolve connection issues. Navigate to your browser settings and clear the cache and cookies, then try connecting your Trezor wallet again.
- Check internet connection: Ensure that you have a stable internet connection. A weak or intermittent connection can cause issues with connecting your Trezor wallet to 1inch.
- Try a different browser or device: If the issue persists, try using a different browser or device to connect your Trezor wallet to 1inch. Sometimes, compatibility issues can occur due to browser settings or device configurations.
If you have gone through all these troubleshooting steps and are still unable to connect your Trezor wallet to 1inch, it is recommended to reach out to the support team of the respective platforms. They will be able to provide further assistance and help you resolve the issue.
Remember to always exercise caution when connecting your wallet to any platform and ensure that you are using official and trusted sources for your wallet and platform interactions.
Troubleshooting Issue 2.1: Clear your browser cache and cookies
If you are experiencing issues connecting your Trezor wallet to 1inch, clearing your browser cache and cookies might help resolve the problem. Clearing your cache and cookies can help get rid of any stored data that may be causing conflicts with the connection process.
To clear your browser cache and cookies, follow these steps:
- Open your browser settings.
- Navigate to the “Privacy” or “Clear browsing data” section.
- Select the option to clear your browsing history, cache, and cookies.
- Choose the time range for which you want to clear the data. It is recommended to select “All time” to ensure a thorough clean-up.
- Click on the “Clear data” or “Delete” button to start the clearing process.
Once you have cleared your browser cache and cookies, try connecting your Trezor wallet to 1inch again. This should eliminate any possible conflicts caused by stored data and allow for a smoother connection process.
If the issue persists, you can also try using a different browser or updating your current browser to the latest version. These additional steps can help ensure that you have the most up-to-date and compatible browser for connecting your Trezor wallet to 1inch.
Troubleshooting Issue 2.2: Try using a different web browser
If you are unable to connect your Trezor wallet to 1inch using your current web browser, you may want to try using a different browser to see if that resolves the issue. Different browsers may have varying levels of compatibility with the Trezor wallet and the 1inch platform.
Some web browsers have built-in features or extensions that can interfere with the connection process, causing the issue you are experiencing. By switching to a different browser, you can eliminate any potential conflicts and ensure that you are using a browser that is compatible with both the Trezor wallet and 1inch.
It is important to note that not all web browsers are supported by Trezor or 1inch. However, popular browsers like Google Chrome, Mozilla Firefox, and Safari are generally recommended for use with these platforms.
Additionally, make sure that you have the latest version of your chosen web browser installed. Outdated versions may have compatibility issues that could prevent you from connecting your Trezor wallet to 1inch.
You should also check if your web browser has any security settings or firewall configurations that could be blocking the connection. Disable any ad blockers, pop-up blockers, or other browser extensions that may interfere with the connection process.
If you have tried using a different web browser and are still unable to connect your Trezor wallet to 1inch, it may be helpful to reach out to the support teams of both Trezor and 1inch for further assistance. They may be able to provide additional troubleshooting steps or identify any known issues with specific browsers.
Frequently Asked Questions:
What is Trezor wallet?
Trezor wallet is a hardware wallet that provides secure storage for cryptocurrencies. It is a physical device that connects to your computer or smartphone and allows you to manage your digital assets safely.
Why should I connect my Trezor wallet to 1inch?
Connecting your Trezor wallet to 1inch allows you to directly interact with decentralized exchanges and swap your cryptocurrencies securely. It enhances the security of your transactions and provides you with more control over your funds.
Is it safe to connect my Trezor wallet to 1inch?
Yes, it is safe to connect your Trezor wallet to 1inch. Trezor wallets provide strong security measures to protect your funds, and 1inch is a reputable decentralized exchange platform. However, it is always important to ensure that you are accessing the official 1inch website and double-check any transactions before confirming them.
Video:
STEP-BY-STEP TUTORIAL ON HOW TO SET UP A TREZOR WALLET ("Investing in Crypto for Beginners" Series)
Ledger Recover Explained by Experts Top 3 Concerns Revealed (What Ledger Users Should Do? ✅)


